.webp)
When I’m feeling unwell (yes, even nutrition experts are human, and we all have our health challenges), I crave comfort food. I bake potatoes, eat porridge with butter and salt. Yesterday, I outdid myself — gluten-free vegan Medovik. Not that I usually love cakes. Once a year, I make Napoleon following my dad’s recipe in industrial quantities. And around New Year's, during movies week, there’s something sweet as well. But that’s about it.
Medovik (or Smetannik, as it’s called in different regions of Ukraine) was something both my mom and grandmother used to make when I was a child. I suddenly craved it, but indulging in large amounts of refined flour, sugar, and dairy — especially while lying down recovering without exercise for the first time in ages — seemed excessive. So, Medovik.
Vegan. Gluten-free. Guilt-free. A vegetarian option. And fully vegan if you swap the honey for natural mango or peach purée, with no added sugar.
A small disclaimer: no alternative can fully replicate the exact taste of the original. But honestly? I find this version even tastier.
- 1 cup (250 ml) gluten-free flour (I use 50/50 Bob's Red Mill gluten-free flour and rice flour)
- 1 cup chickpea flour
- 1/3 cup coconut sugar (or any unrefined brown sugar)
- 1/4 cup mango purée or apple purée (or liquid honey if you’re not strictly vegan — you can keep it for the name’s sake, otherwise, let’s call it a “Mangovik” :)
- 1/2 tsp. baking soda (or baking powder)
- 4 tbsp. jam: apple purée, baby apple purée, or homemade apricot jam
- 3 tbsp. melted extra virgin coconut oil
- a pinch of salt
For the Cream:
- 2/3 cup nuts (cashews work well, but I used a mix of pine nuts and roasted hazelnuts)
- 150 ml coconut milk
- 1 tbsp. coconut sugar
- juice of 1/2 lemon
- a pinch of psyllium (1/4 tsp or one capsule of psyllium supplement; optional, but it helps thicken the cream)
* This time, I used chickpea flour + 1/2 cup gluten-free flour, which can be swapped for potato starch or any root flour: tapioca, manioc, + 1/2 cup blended rice flour for texture. It gave a beautiful crumb.
Grind the rice into a fine flour and mix with chickpea flour, tapioca flour (or a gluten-free blend), and sugar. Add honey, baking soda, jam/fruit purée, melted coconut oil, and a pinch of salt. Knead the dough with your hands until it forms a smooth ball. The whole process takes 5-7 minutes if the ingredients are prepped.
Wrap the dough in plastic wrap and chill in the fridge for 20-30 minutes. The coconut oil will firm up, making the dough easier to handle.
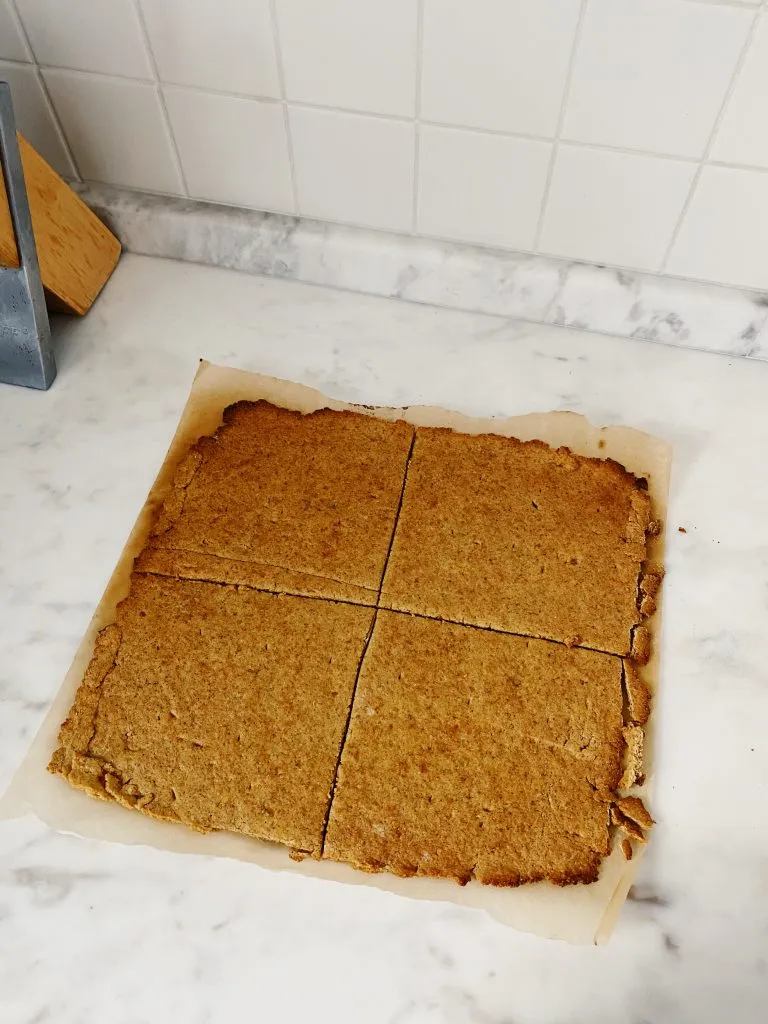
Line a baking sheet with parchment paper. Place the dough on the parchment, cover with another sheet of plastic wrap, and carefully roll it out with a rolling pin. The dough should be as thin as possible, covering the entire width and height of the sheet. Roll it into a rectangle; the excess edges will later be trimmed and used as crumbs to sprinkle on the cake.
Preheat the oven to 160°C. Using a knife, score the dough into four sections. Bake for 15 minutes until golden brown. Remove and let cool completely — placing them on a balcony or outside can speed up the process. Gluten-free dough is fragile, so don’t touch the layers while they’re warm.
In a blender, combine coconut milk, a little natural sugar (or a date), lemon juice, and nuts (everyone always uses cashews, but I never have them at home, so I happily swapped for pine nuts + roasted hazelnuts — turned out amazing). Psyllium is optional but recommended — it thickens the cream nicely. Without it, the cream will still be delicious, just a bit runnier.
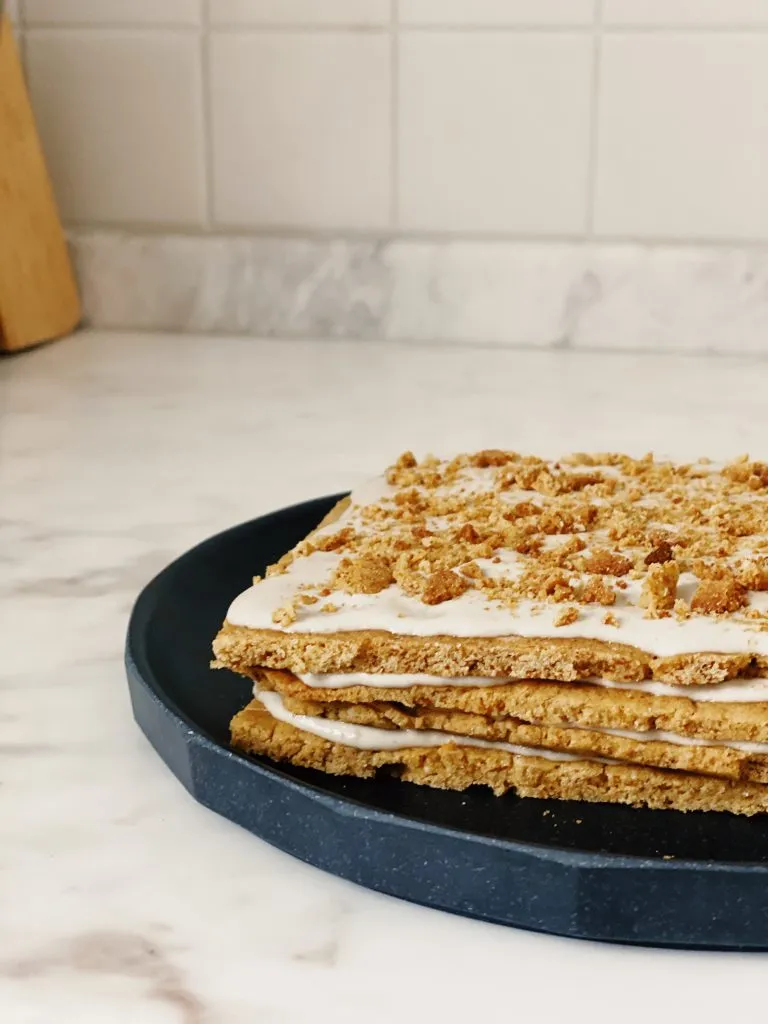
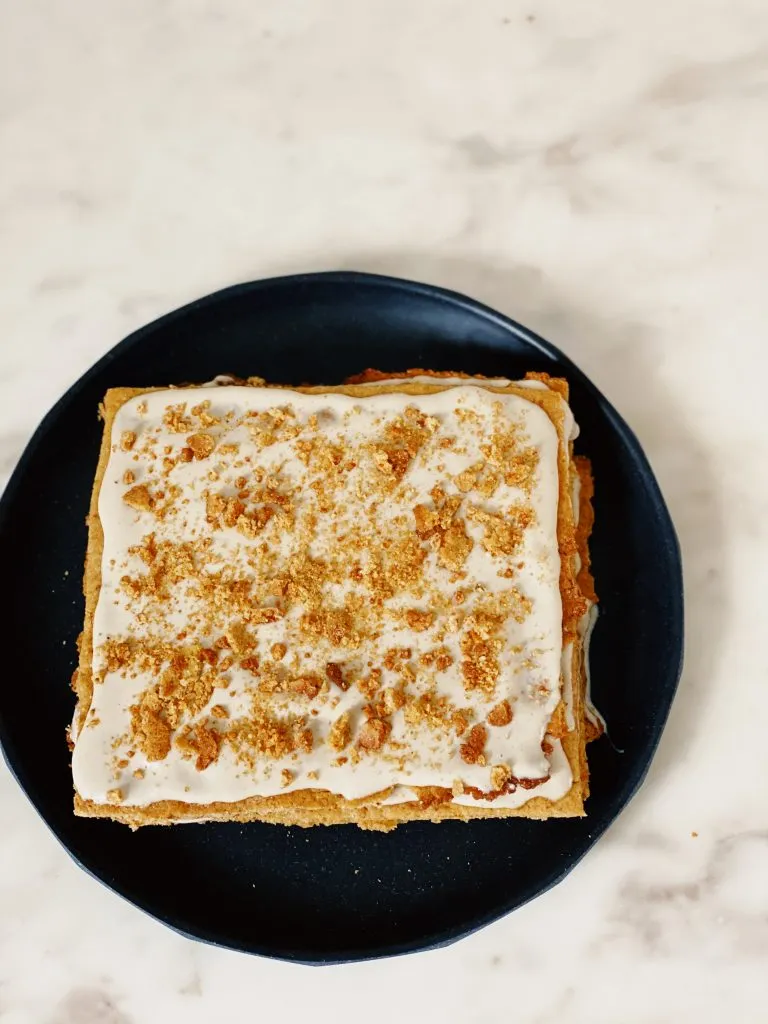
Trim the uneven edges from the layers — these will be crumbled for sprinkling on top. Carefully remove one of the four cake layers with a spatula and place it on a board. Spread a layer of cream. Add another cake layer, then more cream. Repeat until all layers are stacked, finishing with a layer of cream. Sprinkle the top with the reserved cake crumbs.
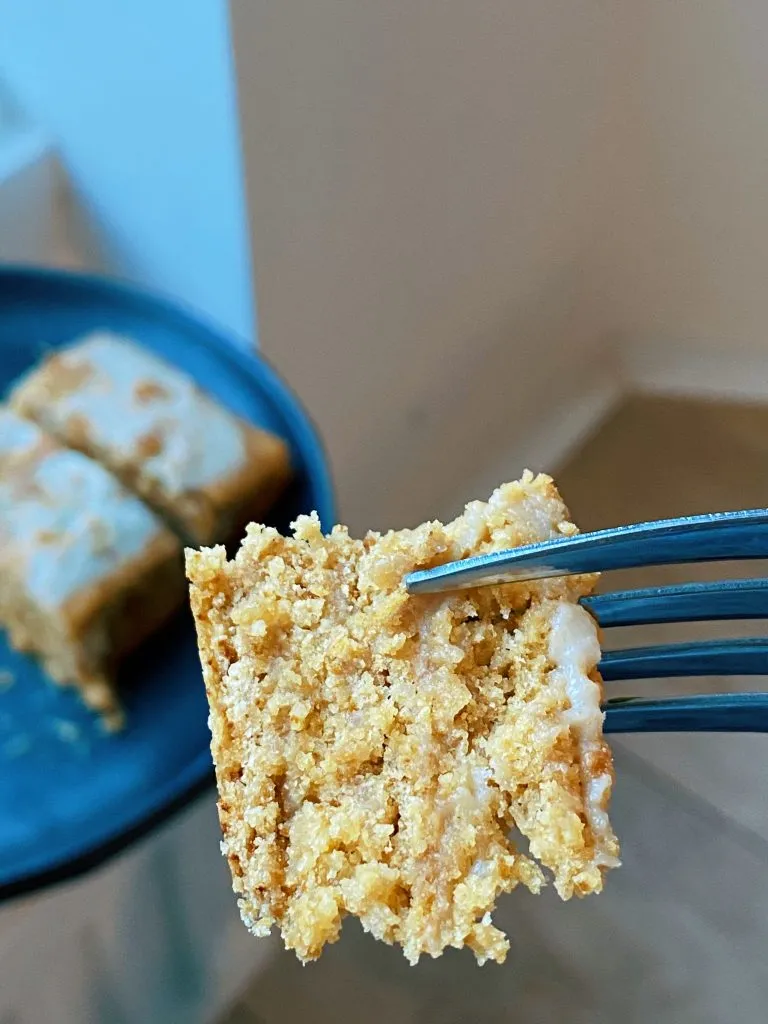
Let the cake chill in the fridge for at least an hour. The next day, it will be even more soaked and tender. But honestly, it’s delicious either way. Next time, I’m making a double batch right away!
For the Cream:
- 2/3 cup nuts (cashews work well, but I used a mix of pine nuts and roasted hazelnuts)
- 150 ml coconut milk
- 1 tbsp. coconut sugar
- juice of 1/2 lemon
- a pinch of psyllium (1/4 tsp or one capsule of psyllium supplement; optional, but it helps thicken the cream)
* This time, I used chickpea flour + 1/2 cup gluten-free flour, which can be swapped for potato starch or any root flour: tapioca, manioc, + 1/2 cup blended rice flour for texture. It gave a beautiful crumb.
Grind the rice into a fine flour and mix with chickpea flour, tapioca flour (or a gluten-free blend), and sugar. Add honey, baking soda, jam/fruit purée, melted coconut oil, and a pinch of salt. Knead the dough with your hands until it forms a smooth ball. The whole process takes 5-7 minutes if the ingredients are prepped.
Wrap the dough in plastic wrap and chill in the fridge for 20-30 minutes. The coconut oil will firm up, making the dough easier to handle.

Line a baking sheet with parchment paper. Place the dough on the parchment, cover with another sheet of plastic wrap, and carefully roll it out with a rolling pin. The dough should be as thin as possible, covering the entire width and height of the sheet. Roll it into a rectangle; the excess edges will later be trimmed and used as crumbs to sprinkle on the cake.
Preheat the oven to 160°C. Using a knife, score the dough into four sections. Bake for 15 minutes until golden brown. Remove and let cool completely — placing them on a balcony or outside can speed up the process. Gluten-free dough is fragile, so don’t touch the layers while they’re warm.
In a blender, combine coconut milk, a little natural sugar (or a date), lemon juice, and nuts (everyone always uses cashews, but I never have them at home, so I happily swapped for pine nuts + roasted hazelnuts — turned out amazing). Psyllium is optional but recommended — it thickens the cream nicely. Without it, the cream will still be delicious, just a bit runnier.
Trim the uneven edges from the layers — these will be crumbled for sprinkling on top. Carefully remove one of the four cake layers with a spatula and place it on a board. Spread a layer of cream. Add another cake layer, then more cream. Repeat until all layers are stacked, finishing with a layer of cream. Sprinkle the top with the reserved cake crumbs.
Let the cake chill in the fridge for at least an hour. The next day, it will be even more soaked and tender. But honestly, it’s delicious either way. Next time, I’m making a double batch right away!


.webp)
